Entry 2
Reference
Project Overview
This blog post will be about the progress, exploration, and results of trying to replicate the effects done in the above reference. This project will approach many different aspects of Houdini’s tools including vellum grain, pyro, and particles. All in all, it will be a fun exploration into understanding references and honing my ability to pick apart how a certain effects can be achieve, and being able to replicate it to the upmost accuracy possible.
Update #2 (May 8, 2026) - Creating the Center Cloud with Velocity Fields
Viewport
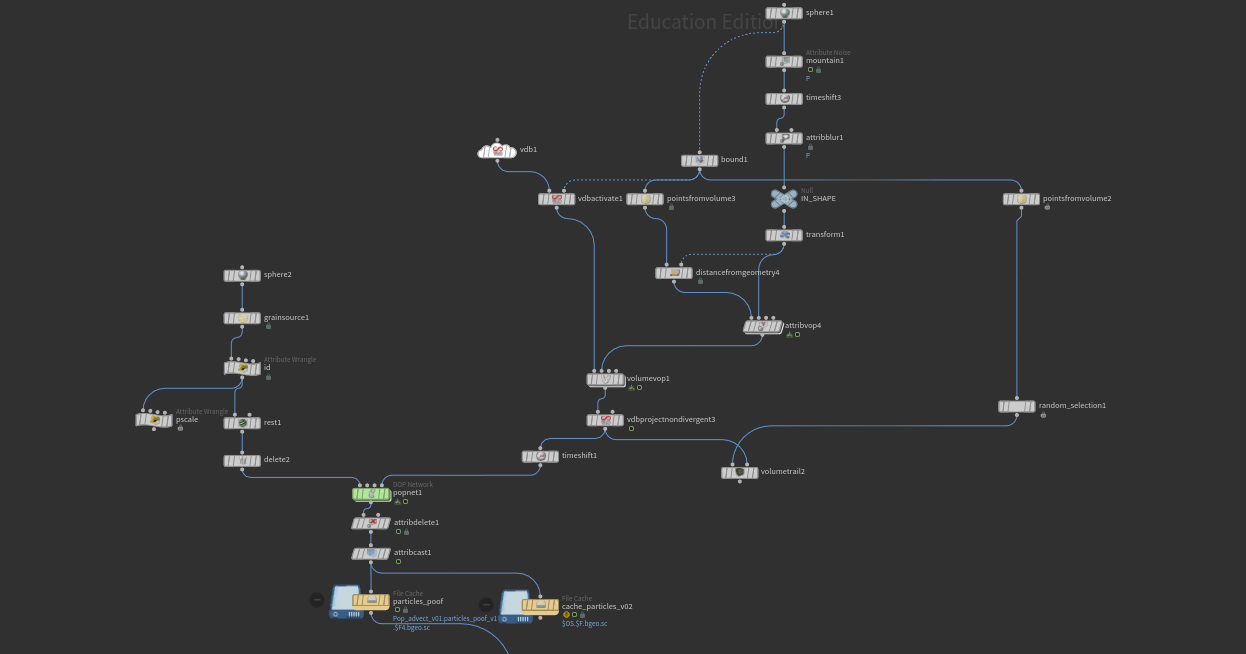
Overview of Node Network of Cloud Effect in Viewport Above
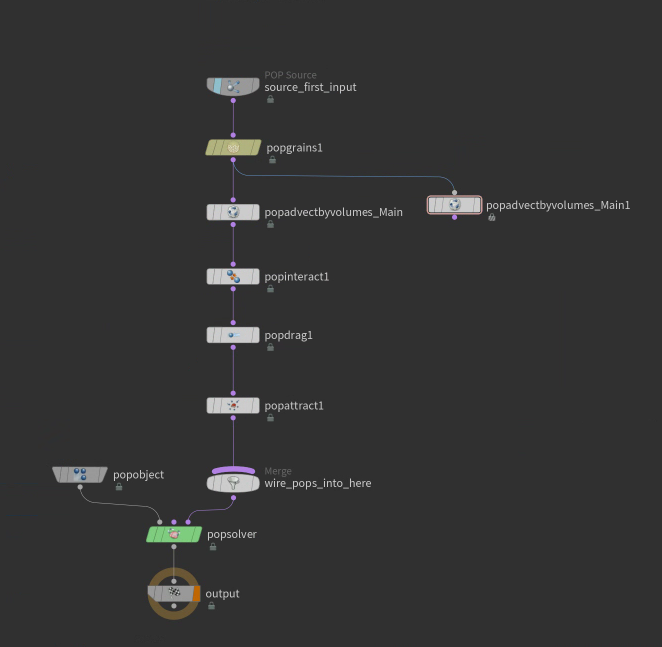
The Pop Network
Inside the Pop solver, the key nodes are:
Pop Source - Emits all particles on frame 1 only.
Pop Grains - Enforces spacing between particles based on pscale.
Pop Drag - Heavy drag to keep particles responsive to the field, not flying freely. Multiplied by age, going up to 20.
Pop Attract - Kicks in if particles drift beyond ±2 units in any direction
Pop Interact
Resources
Step 1: Setting Up the VDB
VDB node, configured with named vector fields: stagger, vector flow, displacement, and acceleration.
A base sphere is distorted using a Mountain SOP to break up the shape.
A Bound node wraps the geometry to define the working region for the velocity field.
Step 2: Seeding Points for the Velocity Field
A Points from Volume node with points at roughly 0.5 separation.
Step 3: Creating the Mask with Distance from Geometry
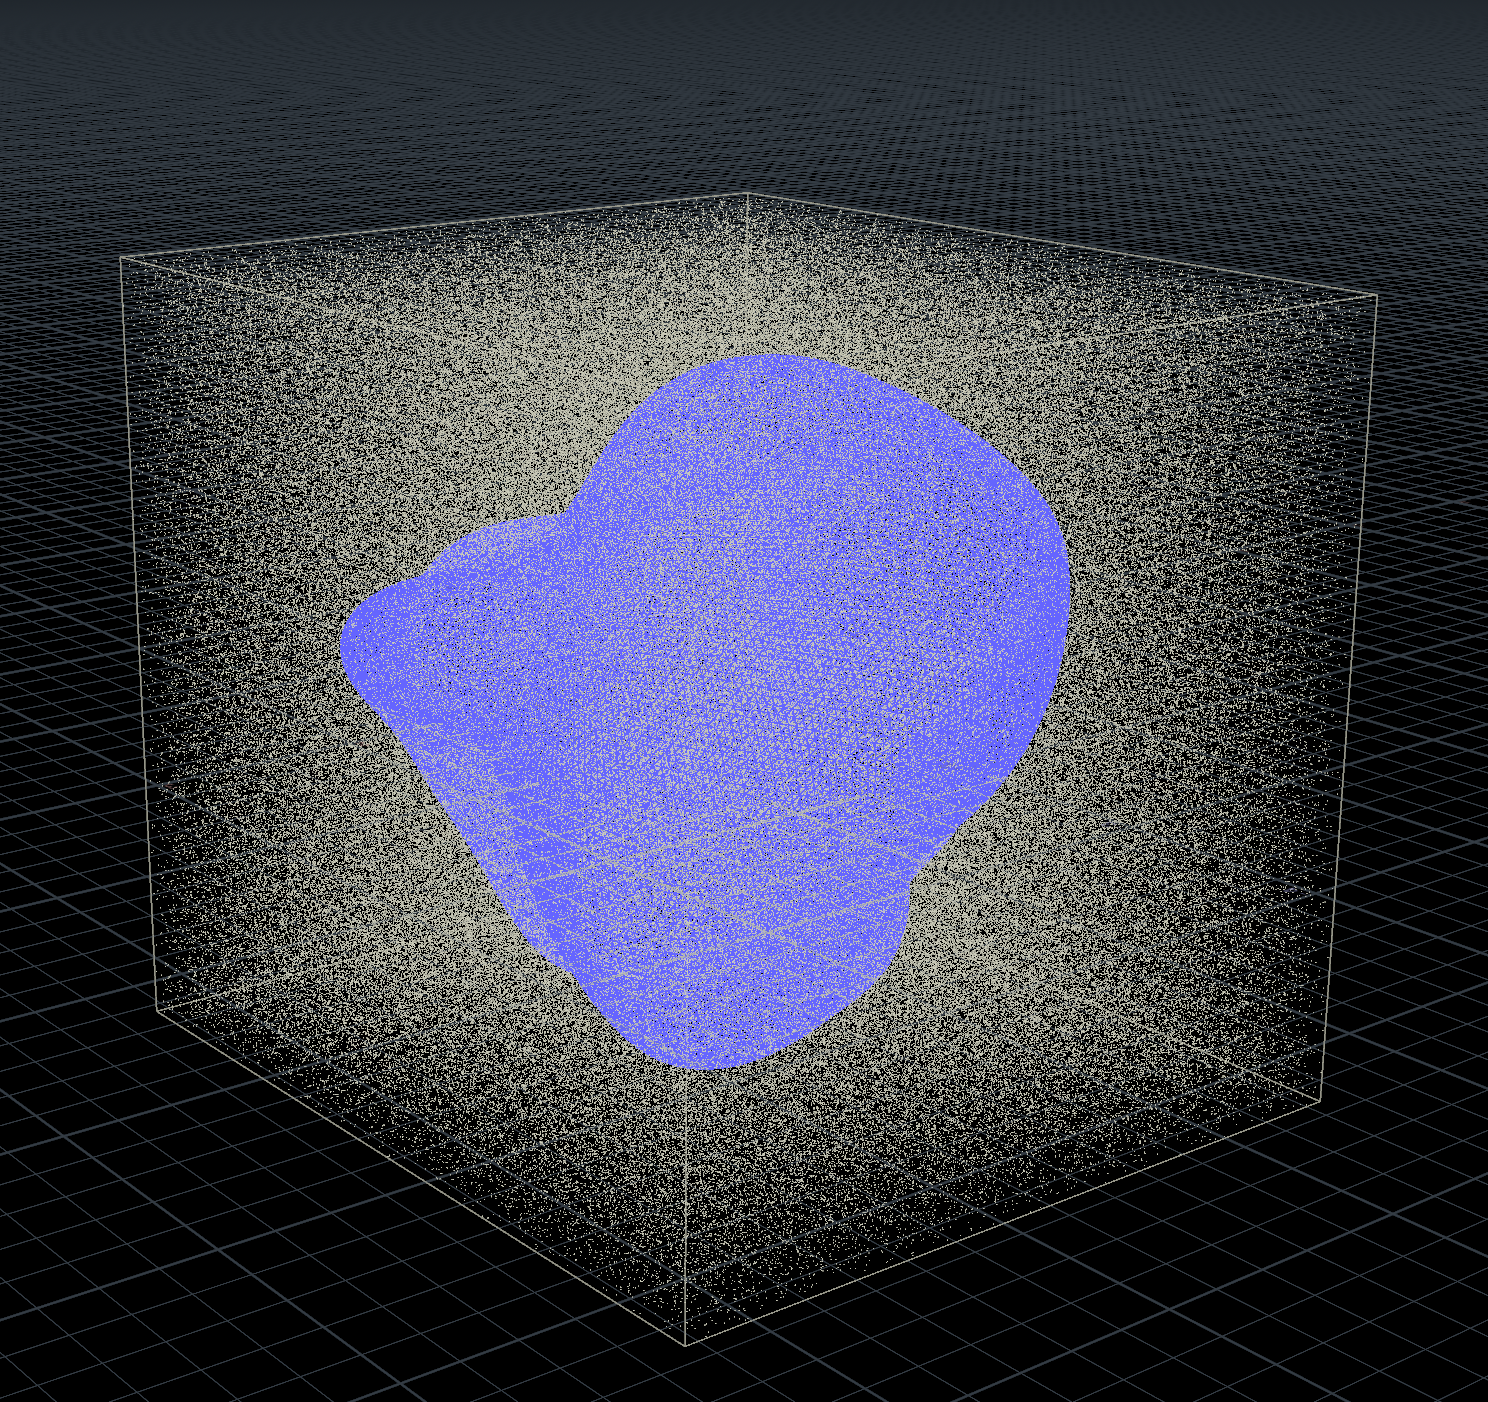
A Distance from Geometry node is used — with distance disabled and mask enabled. This lets you paint a falloff using a ramp and radius control, creating a clear divide:
Mask = 1 (inside/near the geometry): particles will receive swirly curl noise
Mask = 0 (at the edges): particles will be pulled inward by an attraction force
Step 4: Building the Curl Noise
A Point Velocity node with 4D simplex noise.
Promoted parameters: frequency, offset, amplitude, and roughness.
Step 5: Promoting Point Velocities into a VDB
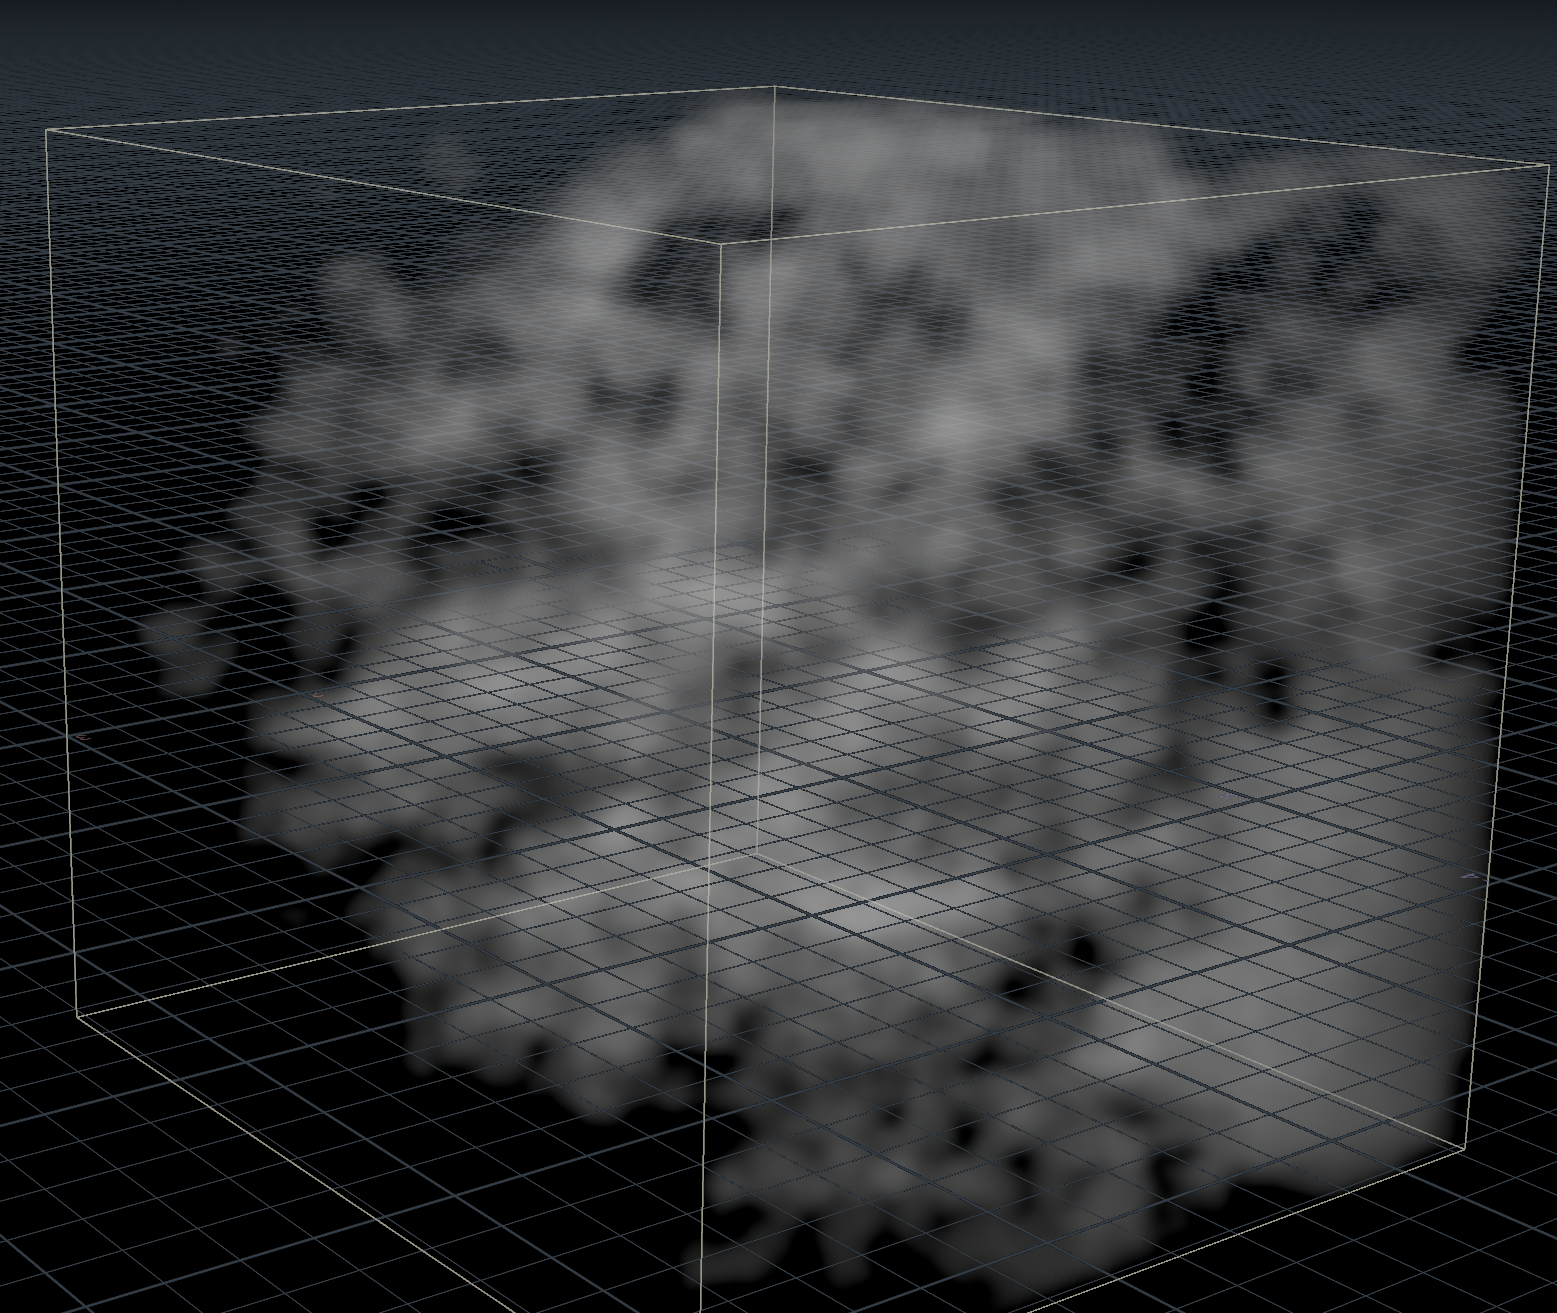
Viewport VDB
To get those point-level velocities into an VDB volume.
Inside the wrangle:
pcopen finds position values of points
pcfilter fetches the velocity attribute from the point cloud
The result is exported into the VDB's velocity field
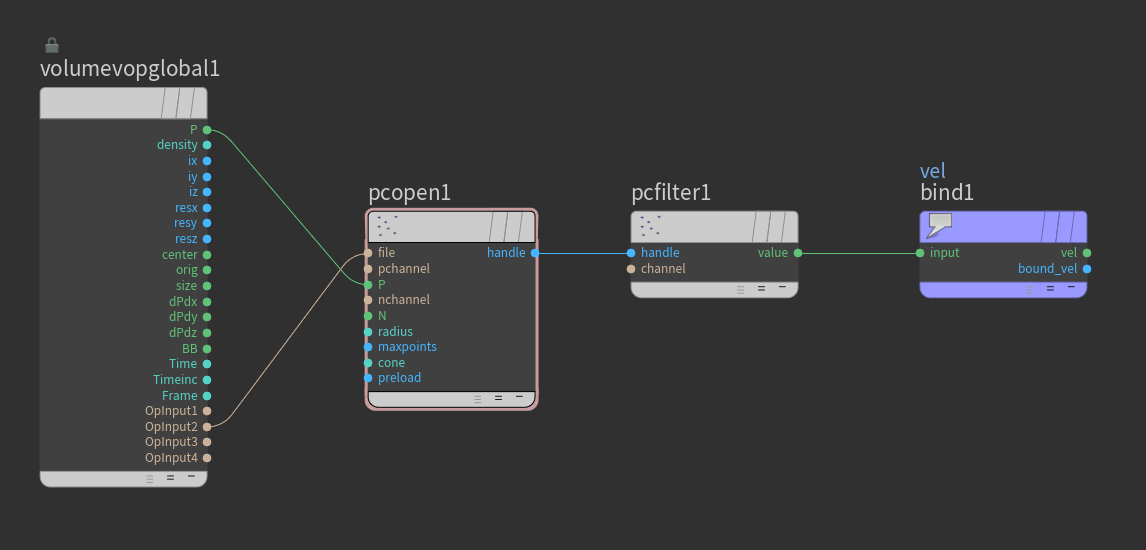
Inside VDB Volume to transfer point velocities to VDB velocity field.
Volume Trail is for visualizing the flow lines and confirm the noise is behaving as expected.
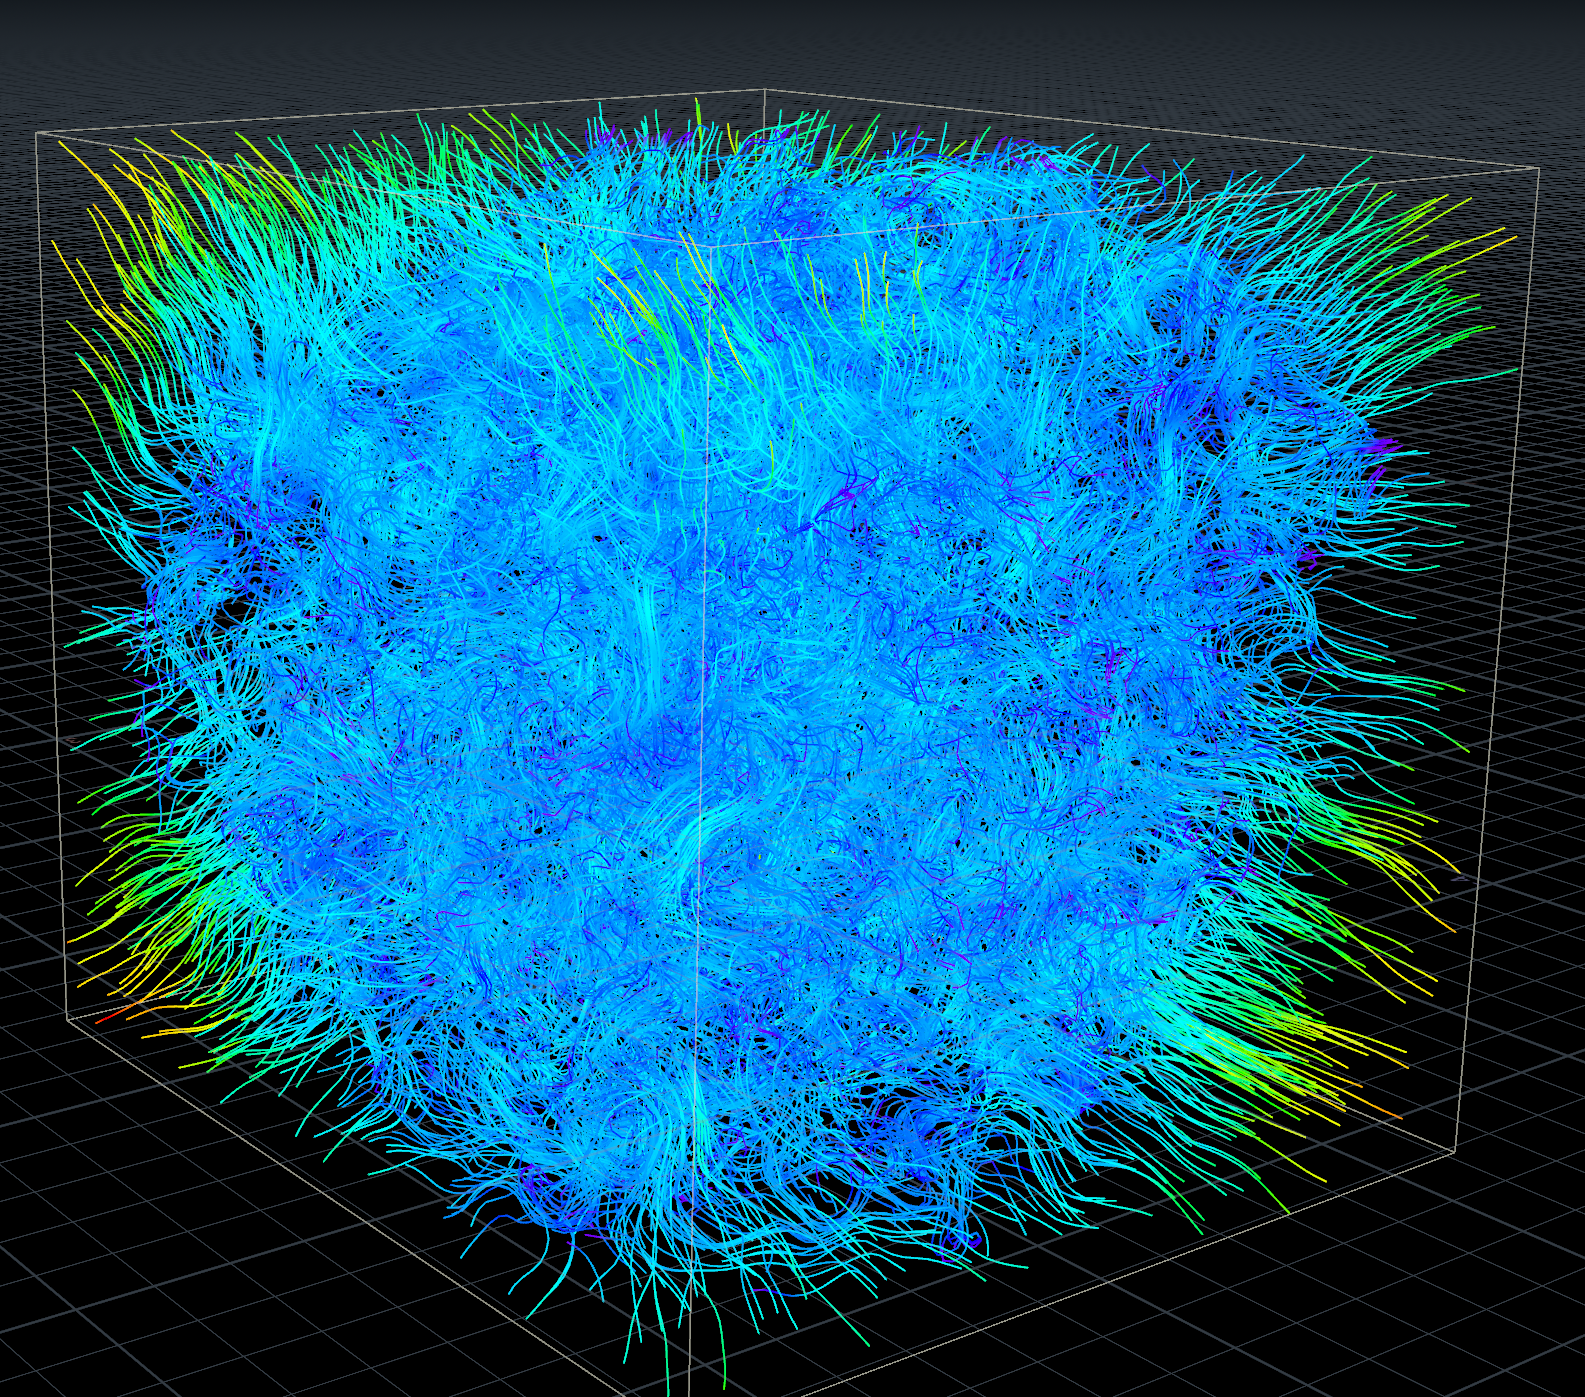
Pulse Length in the Point Velocity node controls how slowly the noise evolves over time.
Step 6: The Inward Attraction Force
For particles that stray to the edges (where mask = 0), a separate wrangle computes an attraction vector:
pcopen fetches the position
Subtract particle position from the closest point on the geometry → direction vector pointing inward
A Fit node sharpens the contrast
The mask attribute is imported via a Bind, inverted, and used as a multiplier
Step 7: VDB Project Non-Divergence
After the curl noise and attraction are combined, a VDB Project Non-Divergence node is applied. This blends the velocity vectors so particles don't pile up in dense clumps while leaving other areas completely empty. The result is a more uniform and organic-looking distribution.
Step 8: The Pop Network (Node Network Above)
Step 9: The Rest Attribute for Shading
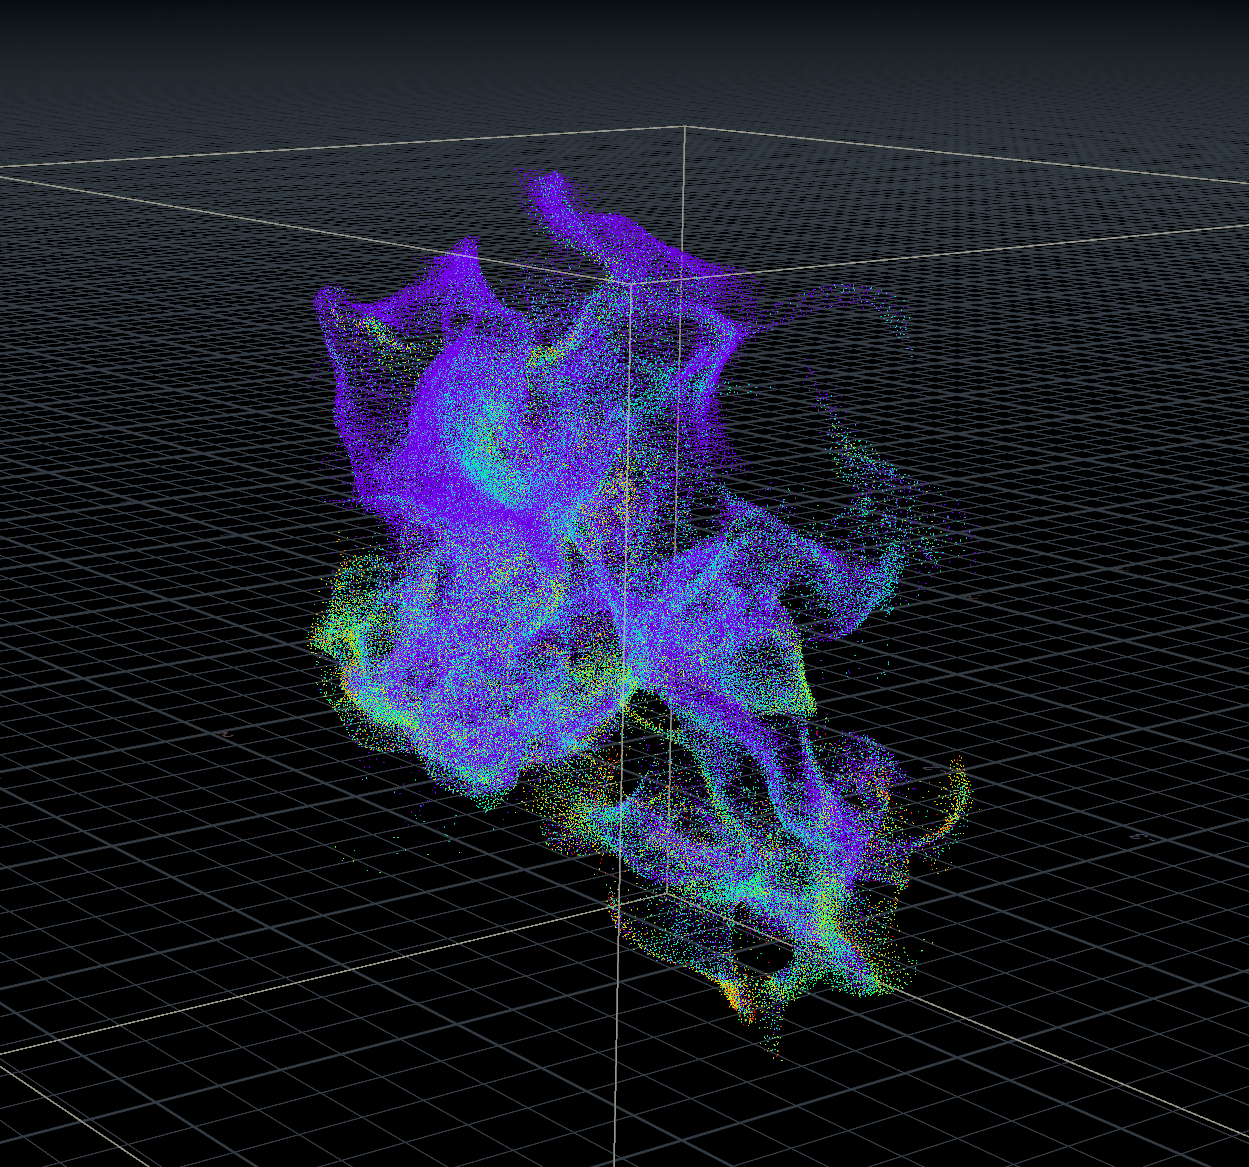
Rest Attribute color shading visualized ramp.
A rest attribute is baked onto particles. This is then used inside an Attribute Noise to generate a shade float attribute. Driving noise from rest instead of P means the shading pattern travels with the particles rather than swimming across them.
Time Shift to grab the rest from the cleanest frame, then promote it back into the sim via IDs. Sharper shading.
