Project 2 - Customized Elements
Week One
This project focused on creating a custom layered rock texture to be applied to a Stanford model and composited into a live-action plate as seamlessly as possible. The goal was to make the CG object feel fully integrated into the environment through accurate lighting, shading, and compositing. One of the more technically challenging requirements of the assignment was the inclusion of caustics within the shadow areas of the object. This presented an interesting problem because Arnold in Maya does not natively generate caustics in a straightforward way. Because of this limitation, part of the project involved exploring alternative workflows and compositing techniques to convincingly simulate the effect.
The first step in the process was capturing the background plate that the CG object would later be integrated into. I shot the footage in Forsyth Park. My goal for the shot was to capture subtle handheld camera movement that would still allow for a relatively clean and stable camera track later in Nuke. The location worked well because the park has a pleasant atmosphere and is filled with natural light, especially direct sunlight. I thought the strong sunlight interacting with surrounding surfaces might create interesting lighting conditions and potential caustic-like patterns that I could attempt to replicate in the CG render. While filming the plate, I also captured several important reference elements that would help with lighting and compositing later in the pipeline.
These included:
A shadow reference plate.
A chrome ball plate for HDR reflections.
A grey ball plate for diffuse lighting reference.
A cube reference for observing how shadows fall in the scene.
In addition to these reference images, I also captured an HDRI of the environment using the HDReye app on my phone. While this method is fairly quick and simple, it provides a surprisingly useful approximation of the lighting environment and works well for small projects where a full HDR capture setup may not be practical.
Reference Material
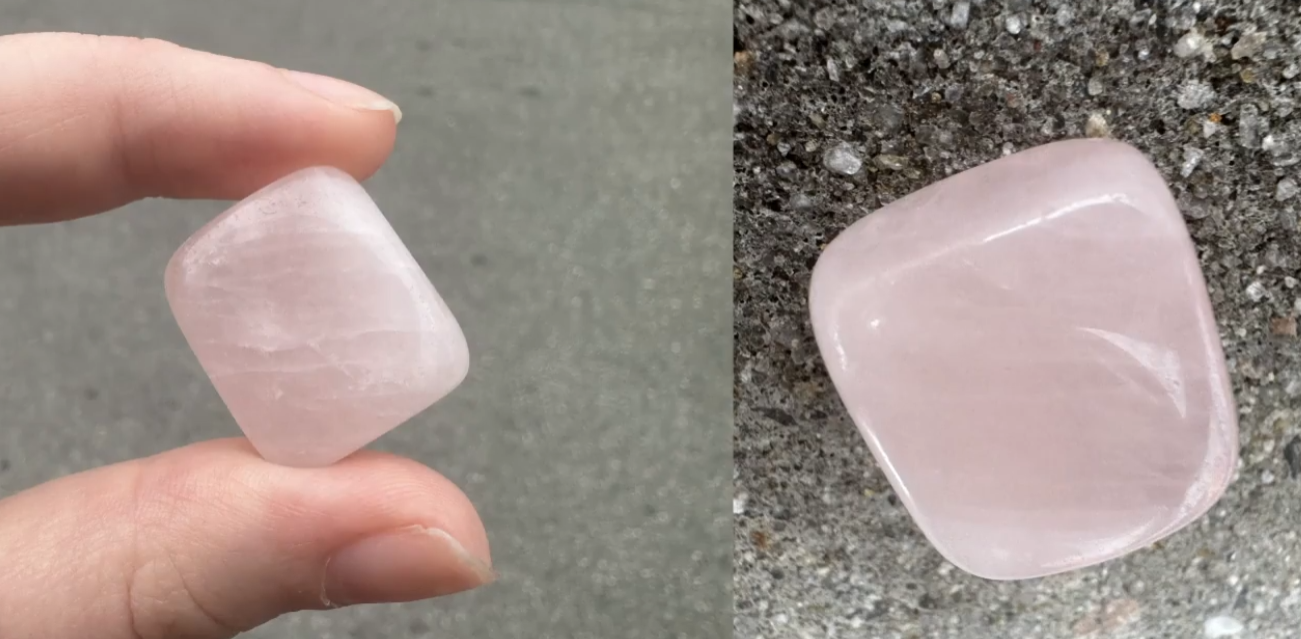
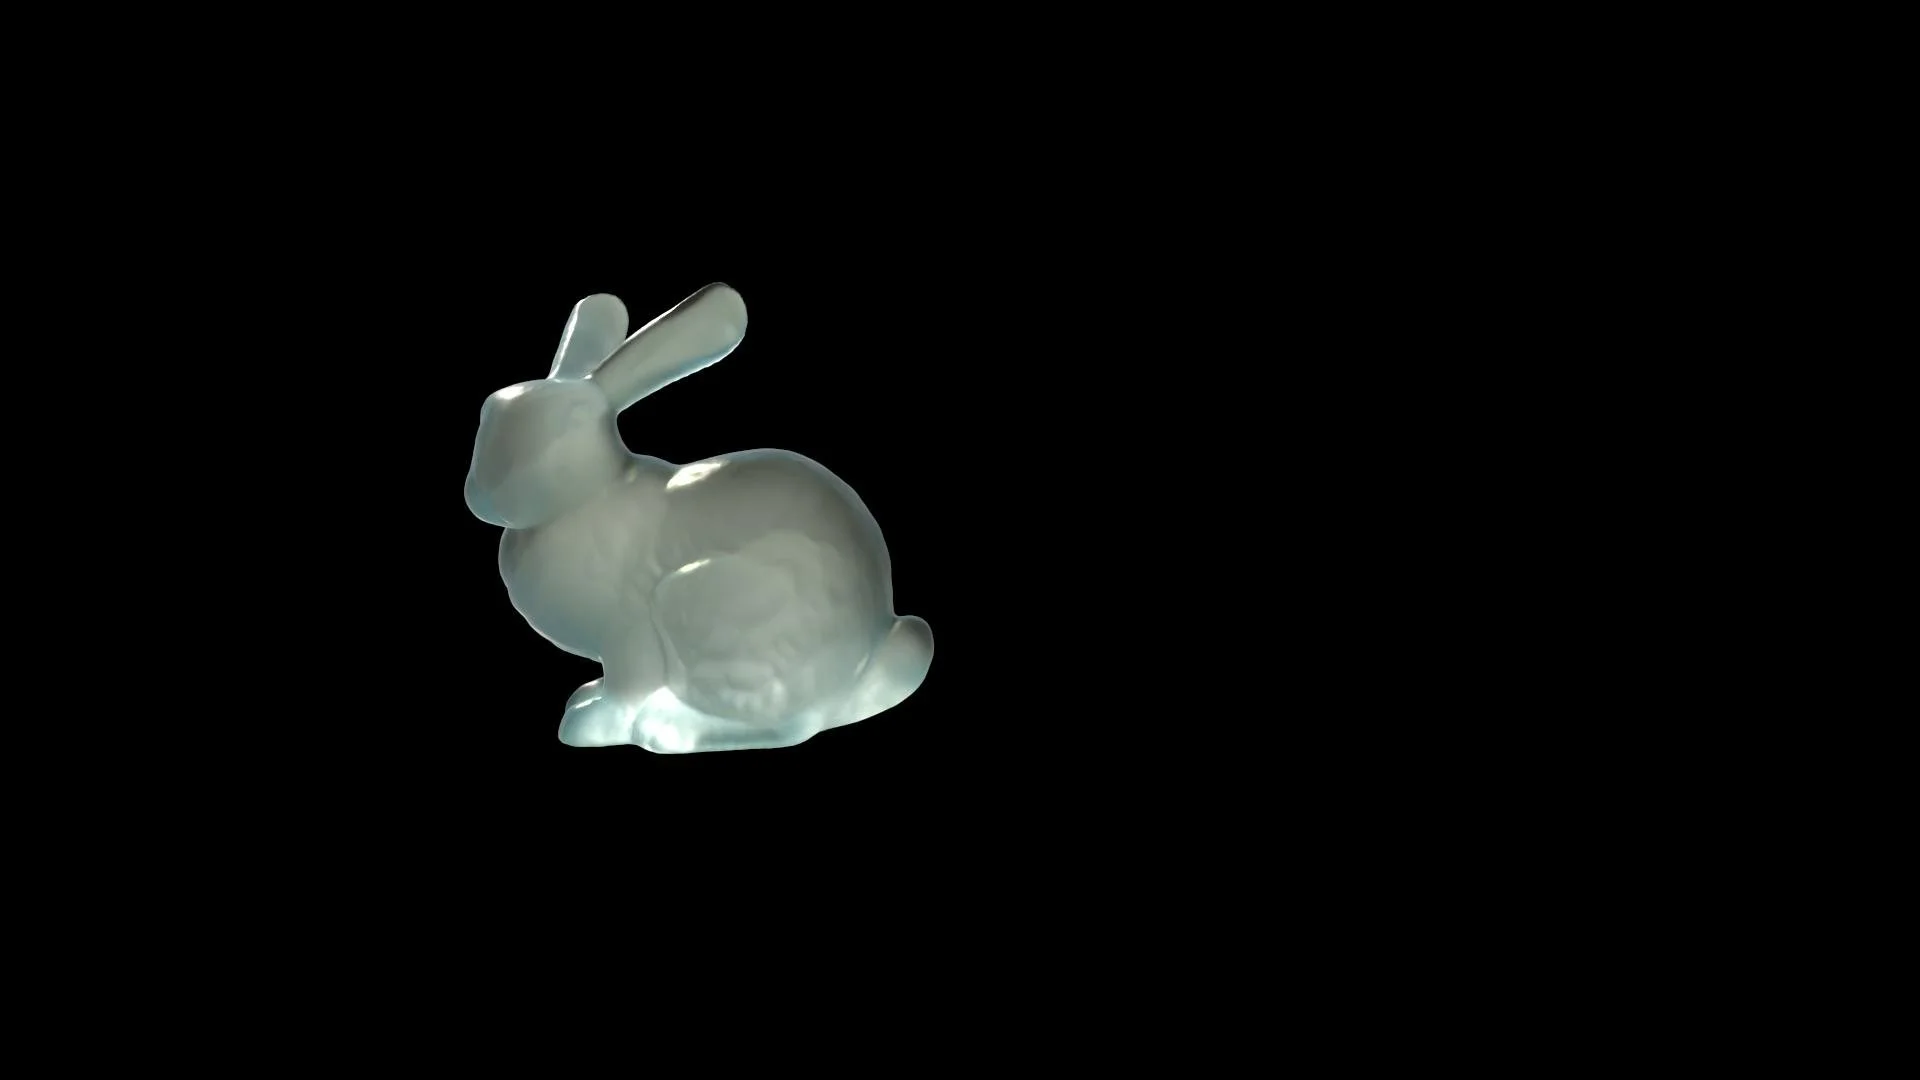
For the material reference, I used a real rock sample that I photographed and studied while building the shader. The rock itself came from a great local shop in Savannah called Ordinary Magic. Using a physical reference helped me better understand the rock's internal structure and variations, especially the layered areas and internal inclusions that make the material feel more natural.
Next came camera tracking in Nuke. Overall, the track went fairly smoothly. The shot contains many stable elements within the frame—such as architectural structures and ground features—which gave the tracking points plenty of consistent surfaces to lock onto. As a result, Nuke generated a reliable 3D camera solve with minimal manual cleanup. Once the track was established, I imported a 3D grey ball into the scene as an early test to evaluate lighting alignment and ensure that the tracked camera matched the movement of the original plate.
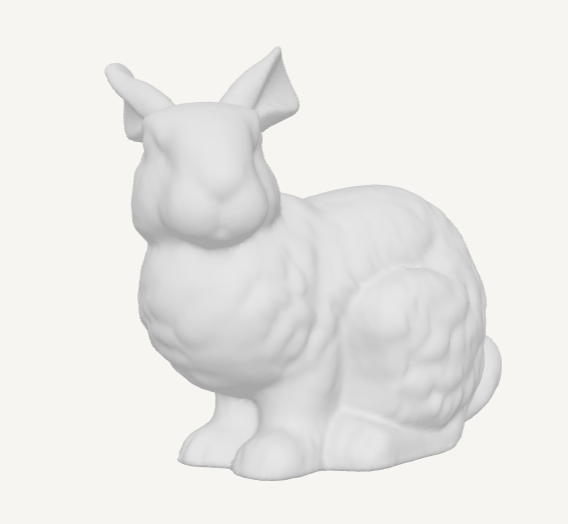
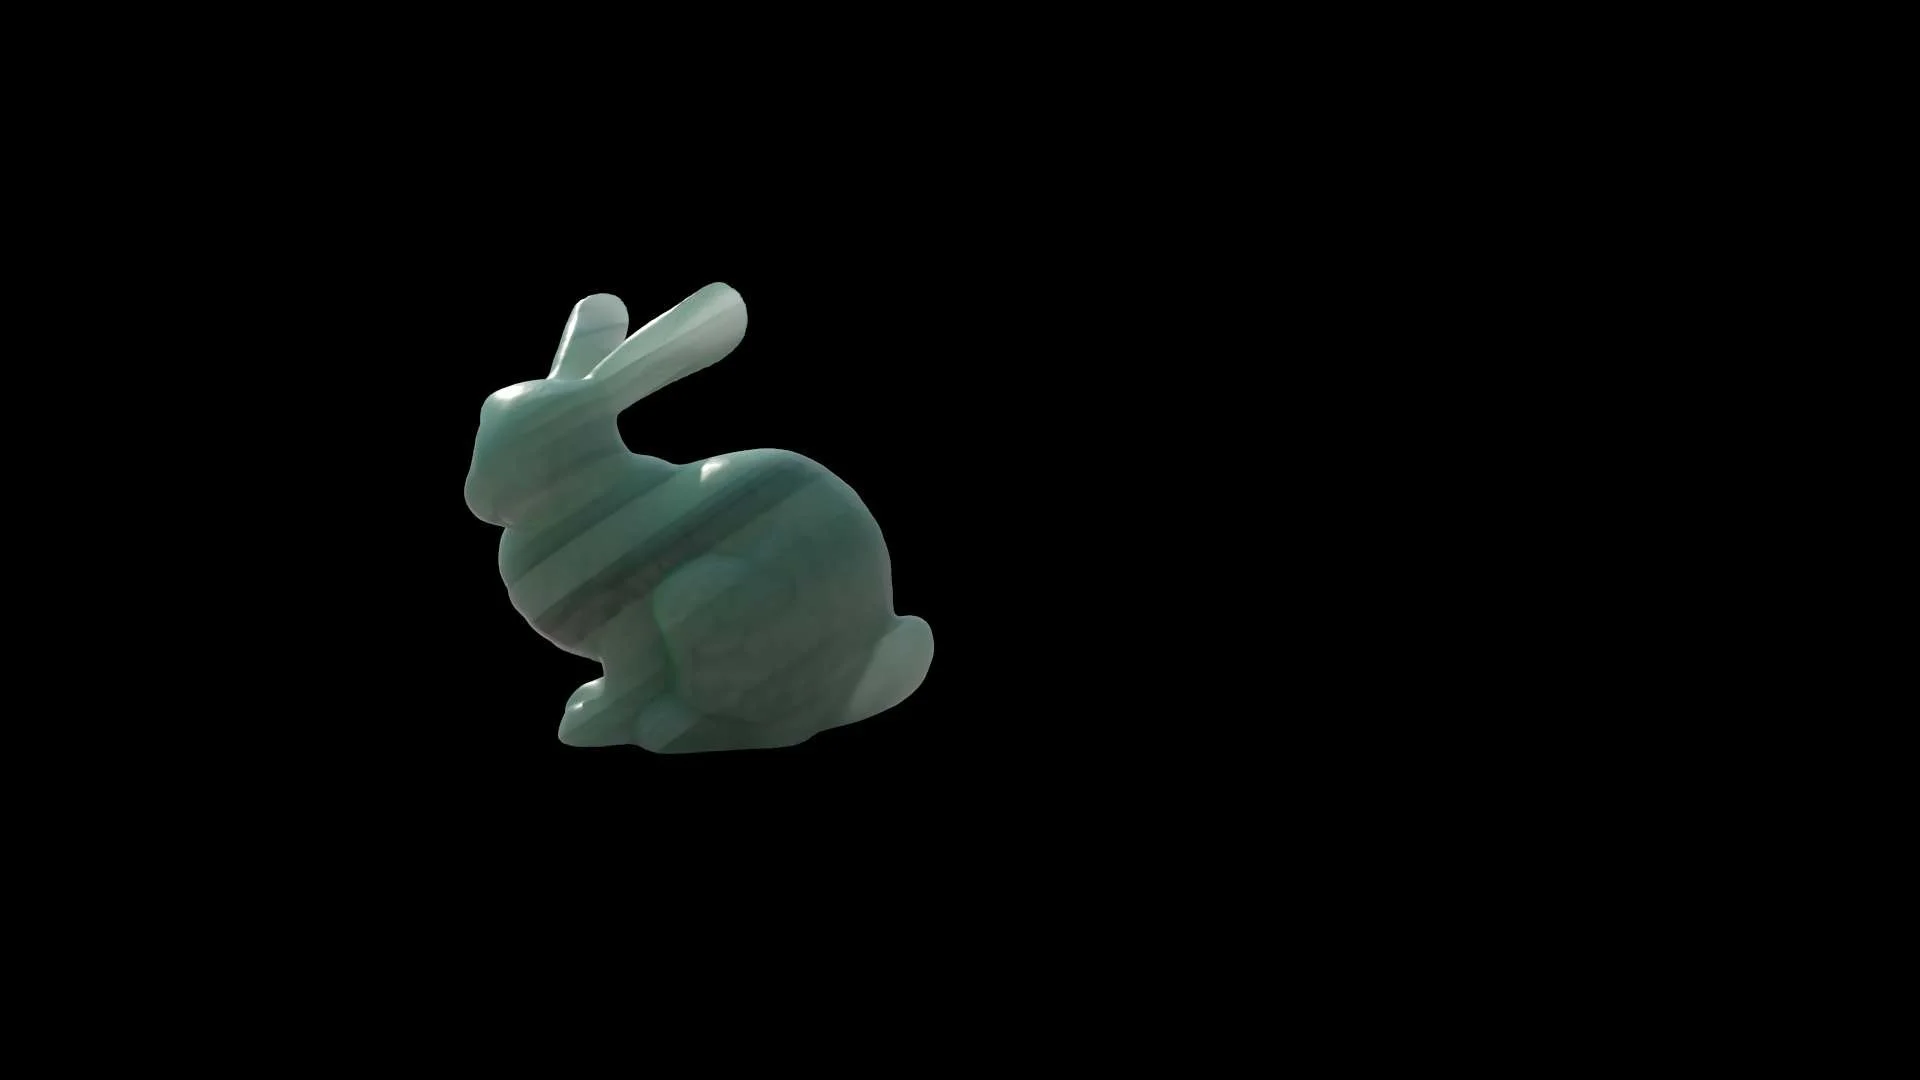
For the CG object itself, I chose the classic Stanford Bunny model. The Stanford Bunny is a well-known model in computer graphics and works particularly well for testing materials. Its shape features a mix of thin and thick geometry, making it ideal for experimenting with subsurface scattering and observing how light passes through different areas of the rock.
Week Two
During the second week, my focus shifted toward developing the layered rock texture that would give the bunny its final appearance. This process introduced several techniques that I had not previously explored in depth. Much of the work involved layering different shading components and using Nuke compositing techniques to blend them with masks and AOVs.
The primary layers I experimented with included:
Subsurface layer
Glass layer
Facing ratio layer
Internal inclusions/cracks layer
Each of these layers contributed a different aspect to the final look of the rock.
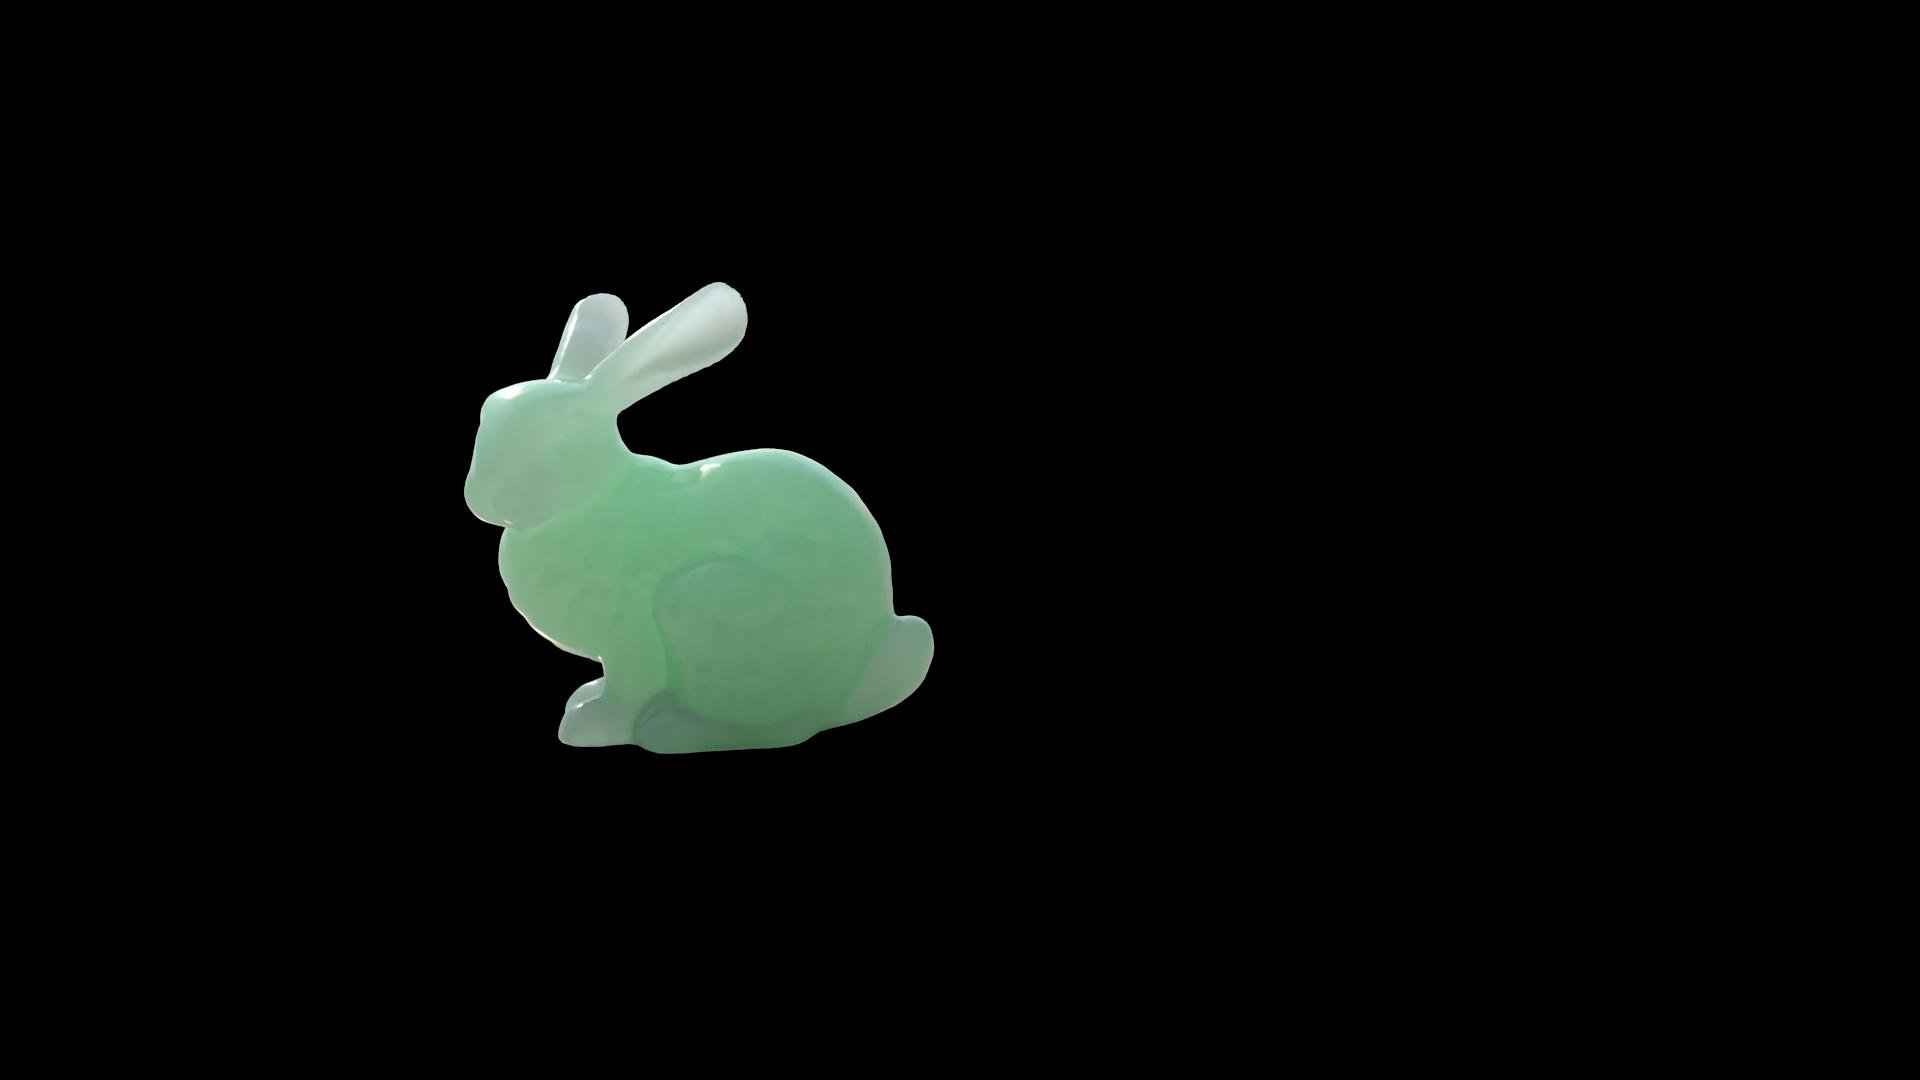
Subsurface Layer
The subsurface scattering layer helped simulate how light travels through the interior of the rock. This was particularly important for achieving the slightly translucent quality that some minerals exhibit when light passes through thinner areas.
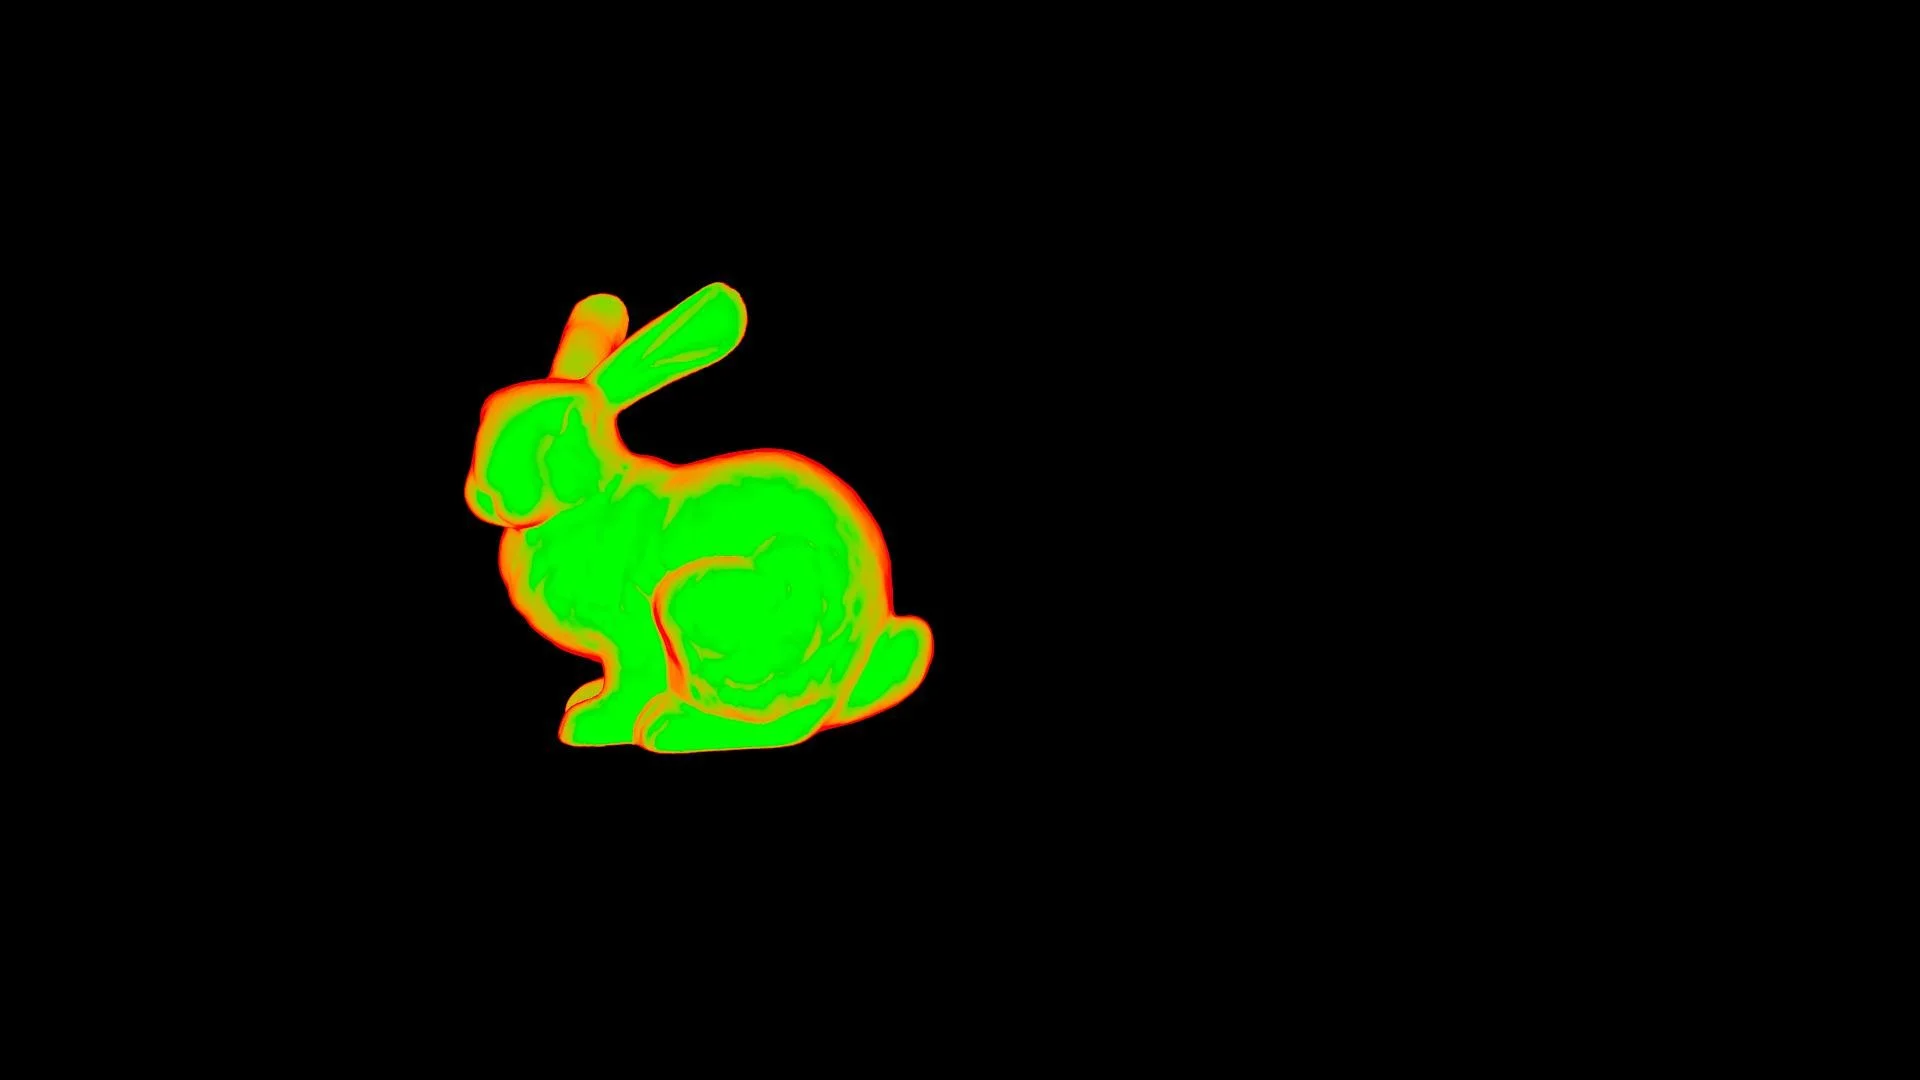
Facing Ratio Layer
The facing ratio was one of the most interesting elements to explore during this process. It allowed me to create procedural masks based on the angle between the camera and the model's surface normals. Before this project, I had mostly used similar procedural techniques in Houdini for shading workflows, so discovering that Maya also had strong procedural masking capabilities was really useful.
Glass Layer
The glass layer helped create the more reflective shiny/smooth crystal-like areas that appear in certain parts of the rock, adding variation to the material and preventing the shader from feeling too uniform.
Inclusions Layer
Finally, the inclusions layer simulated internal imperfections such as cracks, mineral deposits, and embedded structures. These internal features help convey the rock's realism, since real stones rarely have perfectly uniform interiors.
Subsurface Layer
Facing Ratio Layer
Glass Layer
Inclusions Layer
Since Arnold does not natively generate caustics in the way I needed, I experimented with alternative methods to approximate the effect. One approach used an emission shader in Arnold to create light patterns resembling caustic effects. I then rendered this layer separately and used it as a mask during compositing in Nuke. I also experimented with inverting the alpha channel of the caustic render to see if that would produce a more convincing mask for the lighting effect. To control where the caustics appeared within the final composite, I used the shadow alpha layer generated using AiShadowMatte. This allowed the caustic effect to appear only in the scene's shadowed areas.
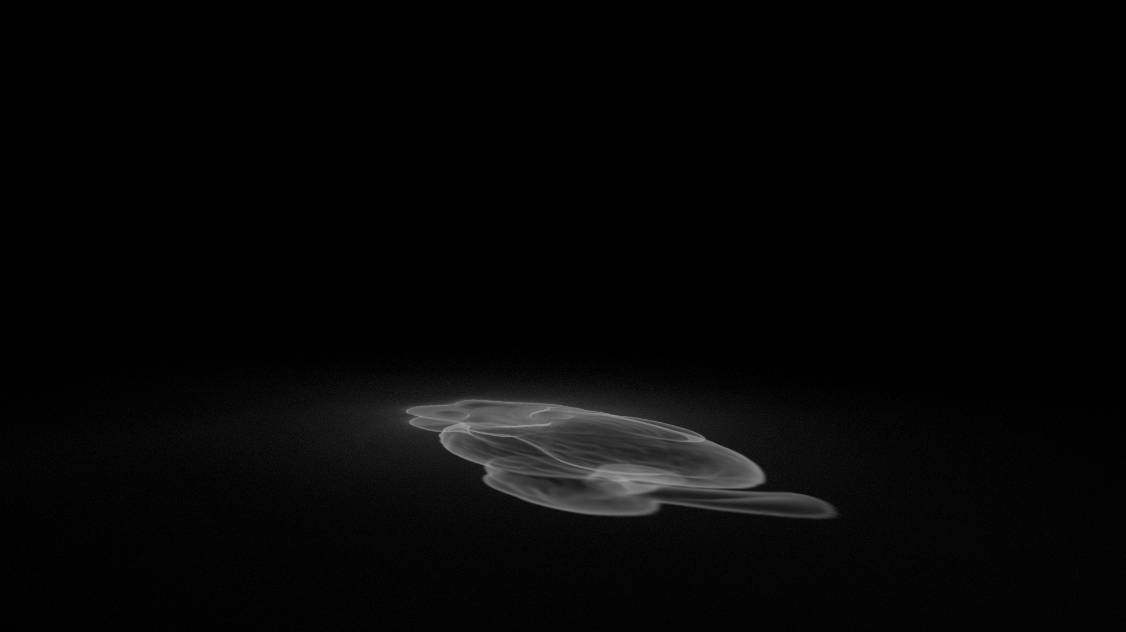
Original Rendered Caustic Alpha
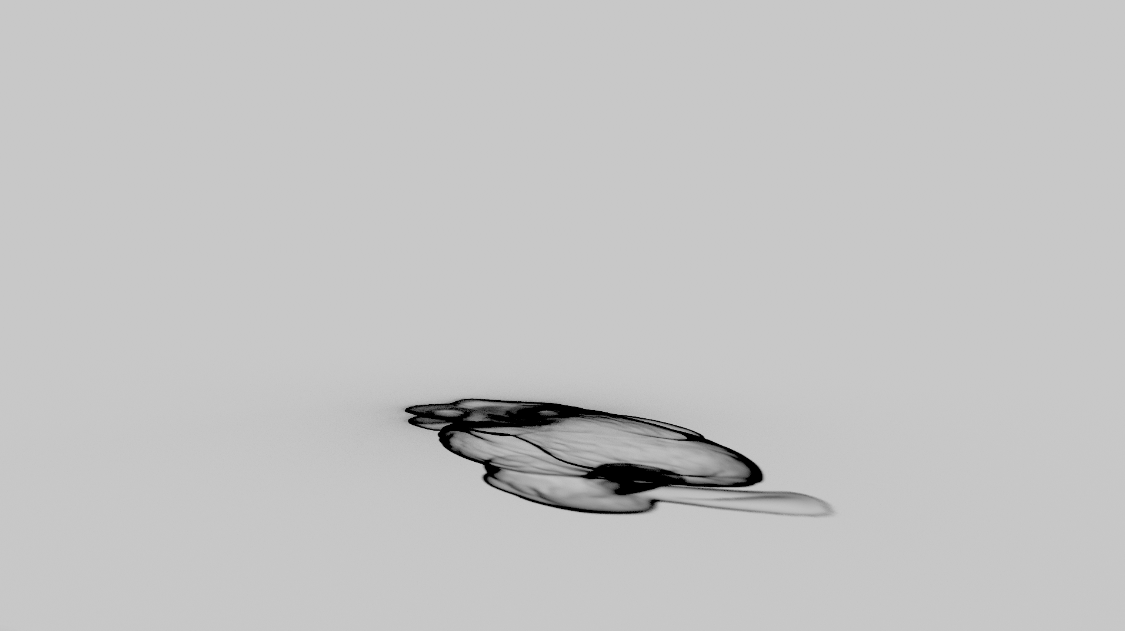
Reversed Caustic Alpha
First Submission Final Render and Breakdown
Critique
More prominent geometry inclusions in the rock.
Cloudy areas in rock texture.
Improve caustics.
Resubmission Work
Graded the alpha channel on the caustic layer to increase its mask effect and added more of a fade to its edges to try and get a bigger glowing effect.